
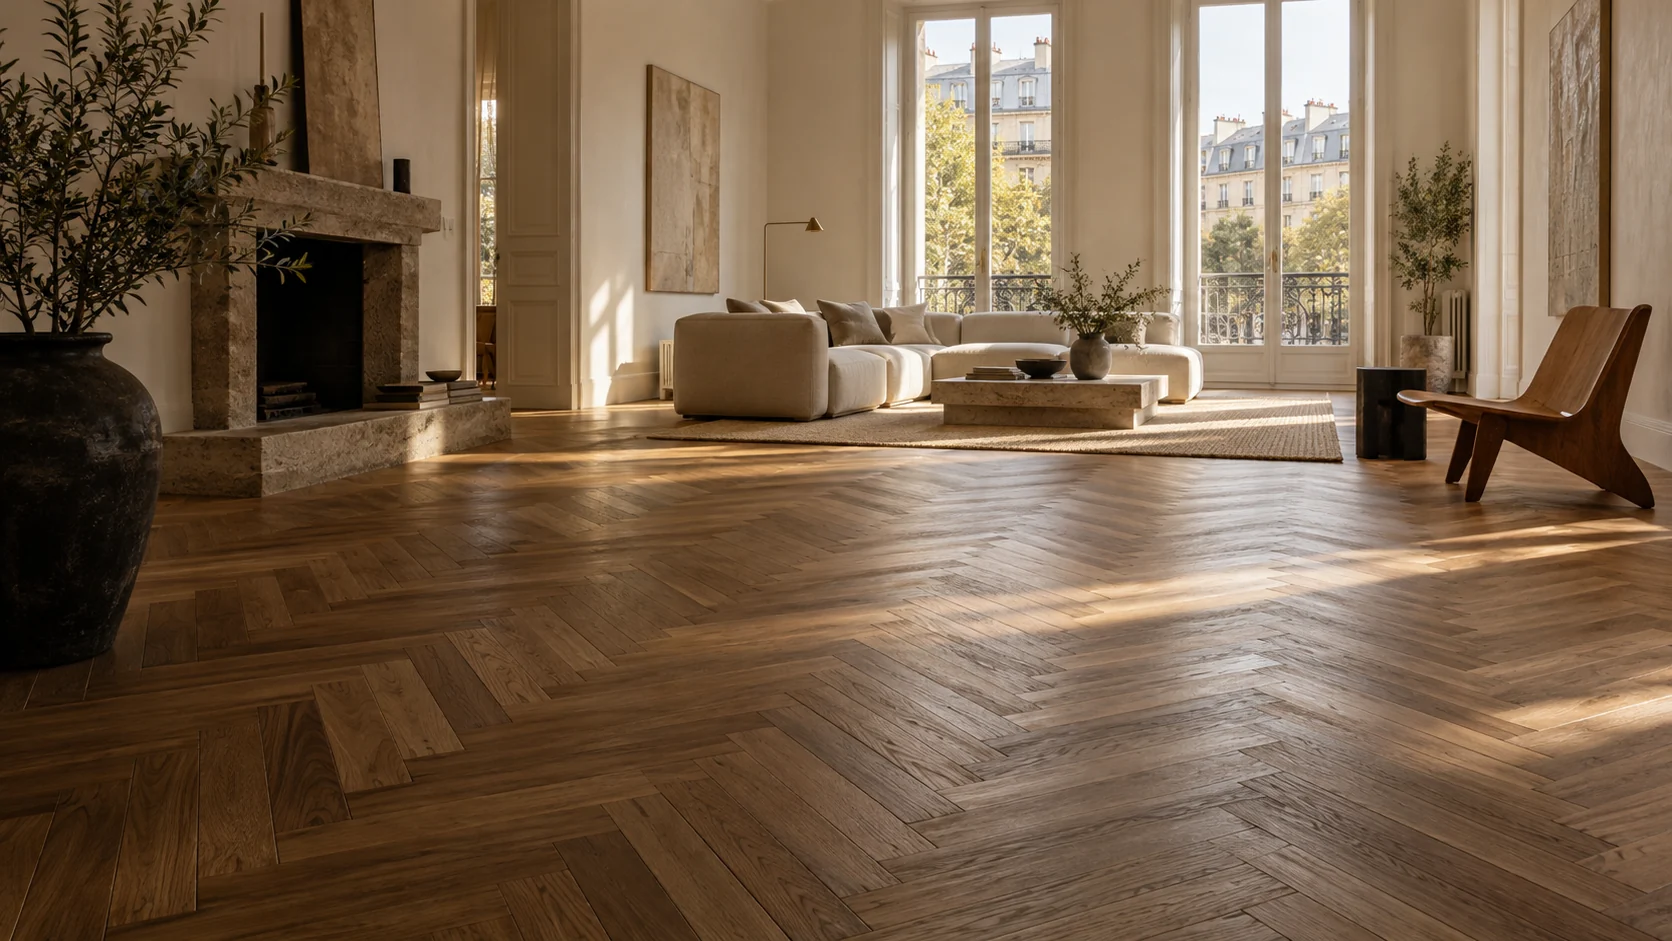
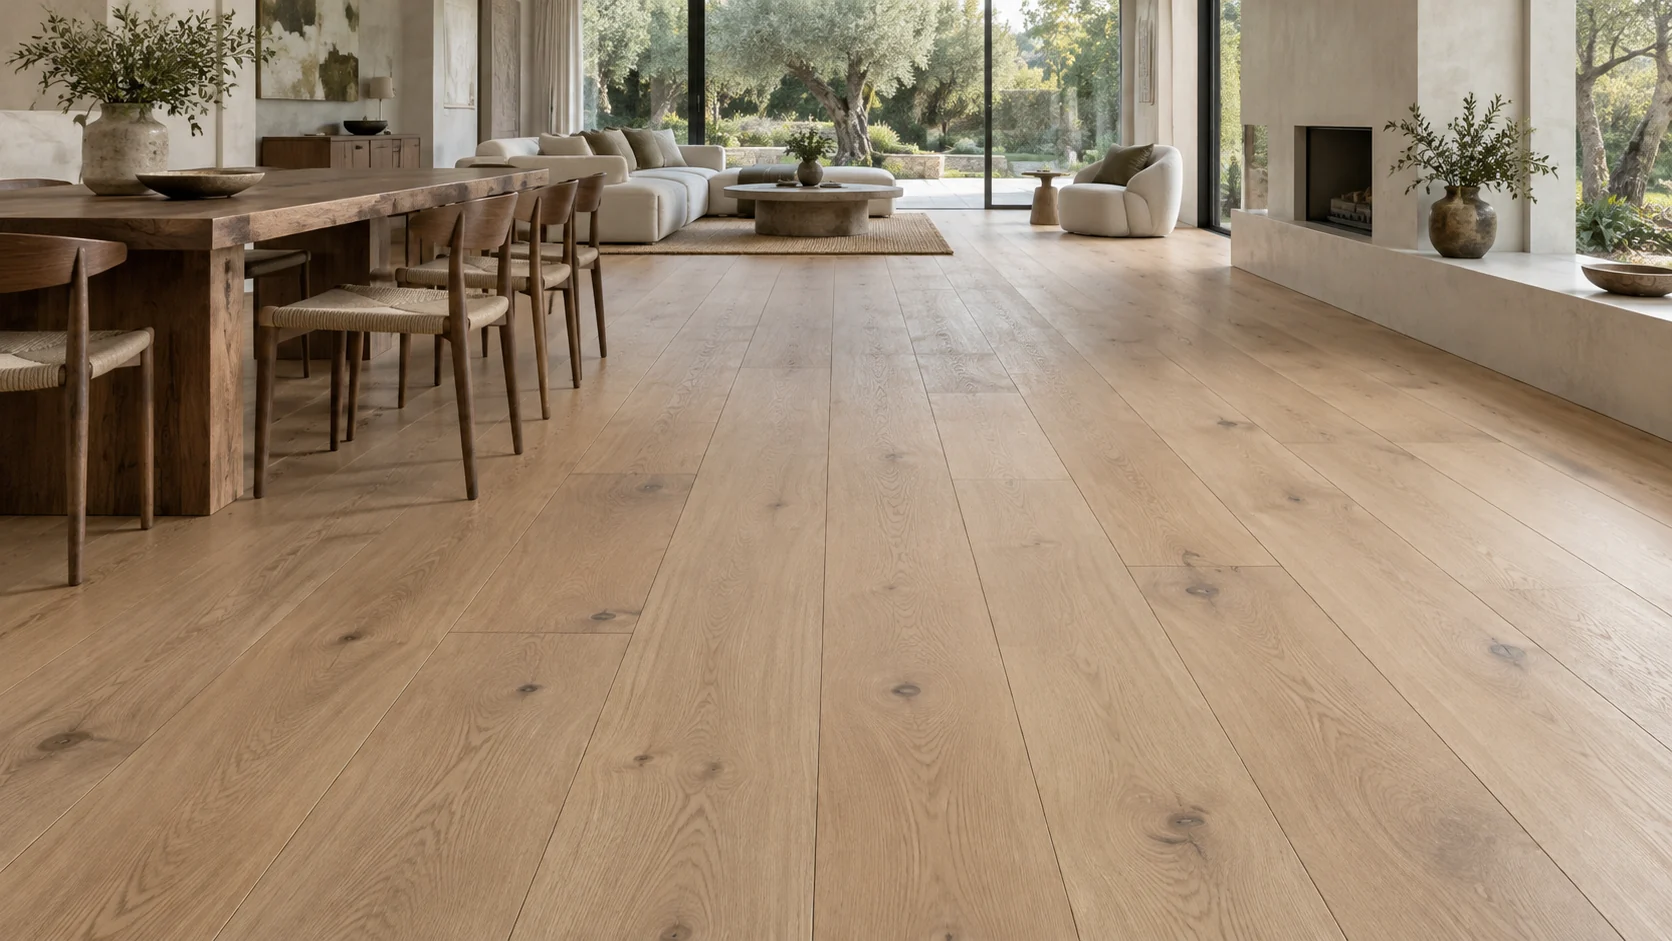
Illustrative interiors / GRAIN material studies
Choose
your ground.
Read the grain. Compare the tone. Then see a physical sample in the light of your own room.
5 material studies
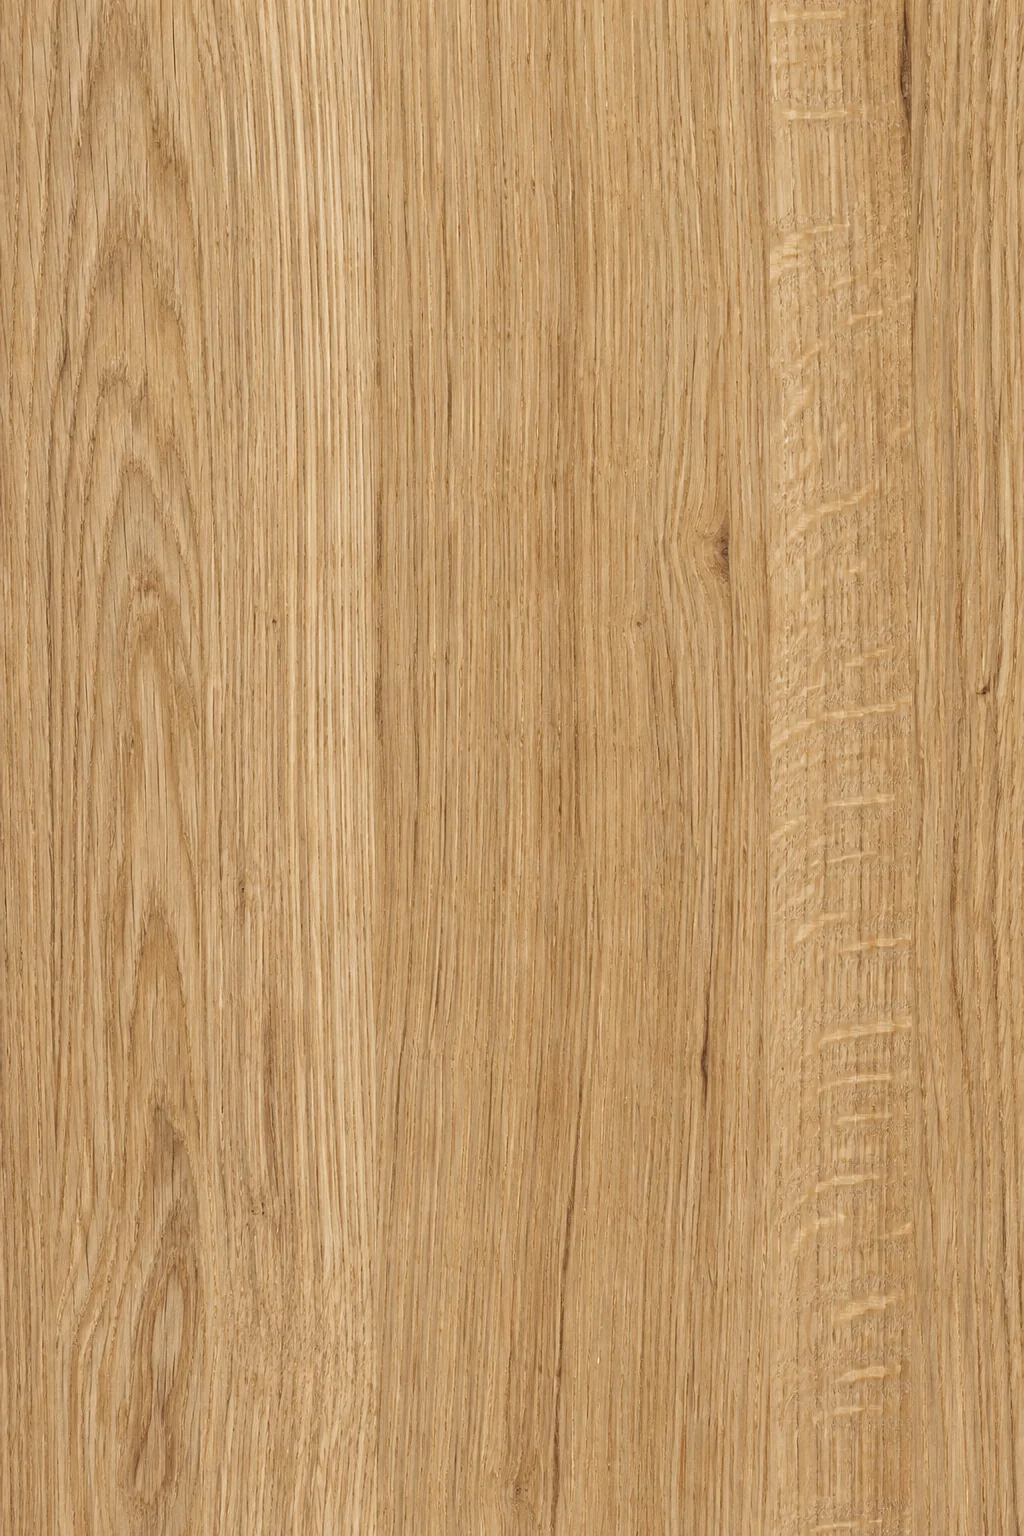
Natural oak
Warm & balanced
Explore finishesSmoked oak
Deep & expressive
Explore finishesWarm walnut
Rich & characterful
Explore finishesPale oak
Light & quiet
Explore finishesBrushed oak
Texture in the grain
Explore finishesDigital colour studies, not product swatches. Species, grade and finishing system must be confirmed from actual samples.
One material.
Three directions.
Pattern changes the way a room reads. Begin with its proportions, not a small sample alone.
Straight boards
A continuous line. Consider the direction of daylight, the width of the boards and how adjoining rooms meet.
Illustrative layout study. Confirm product dimensions and installation drawings.Herringbone
An interlocking rhythm. Rectangular blocks meet at right angles; centre lines and perimeter cuts need careful setting-out.
Illustrative layout study. Confirm product dimensions and installation drawings.Chevron
A directional meeting. Angled ends form a continuous V; the specified angle and board dimensions define the result.
Illustrative layout study. Confirm product dimensions and installation drawings.Keep the character.
Change the finish.
Not every worn floor needs replacing. Start with a survey of its construction, wear depth, fixings and moisture conditions.
Understand restoration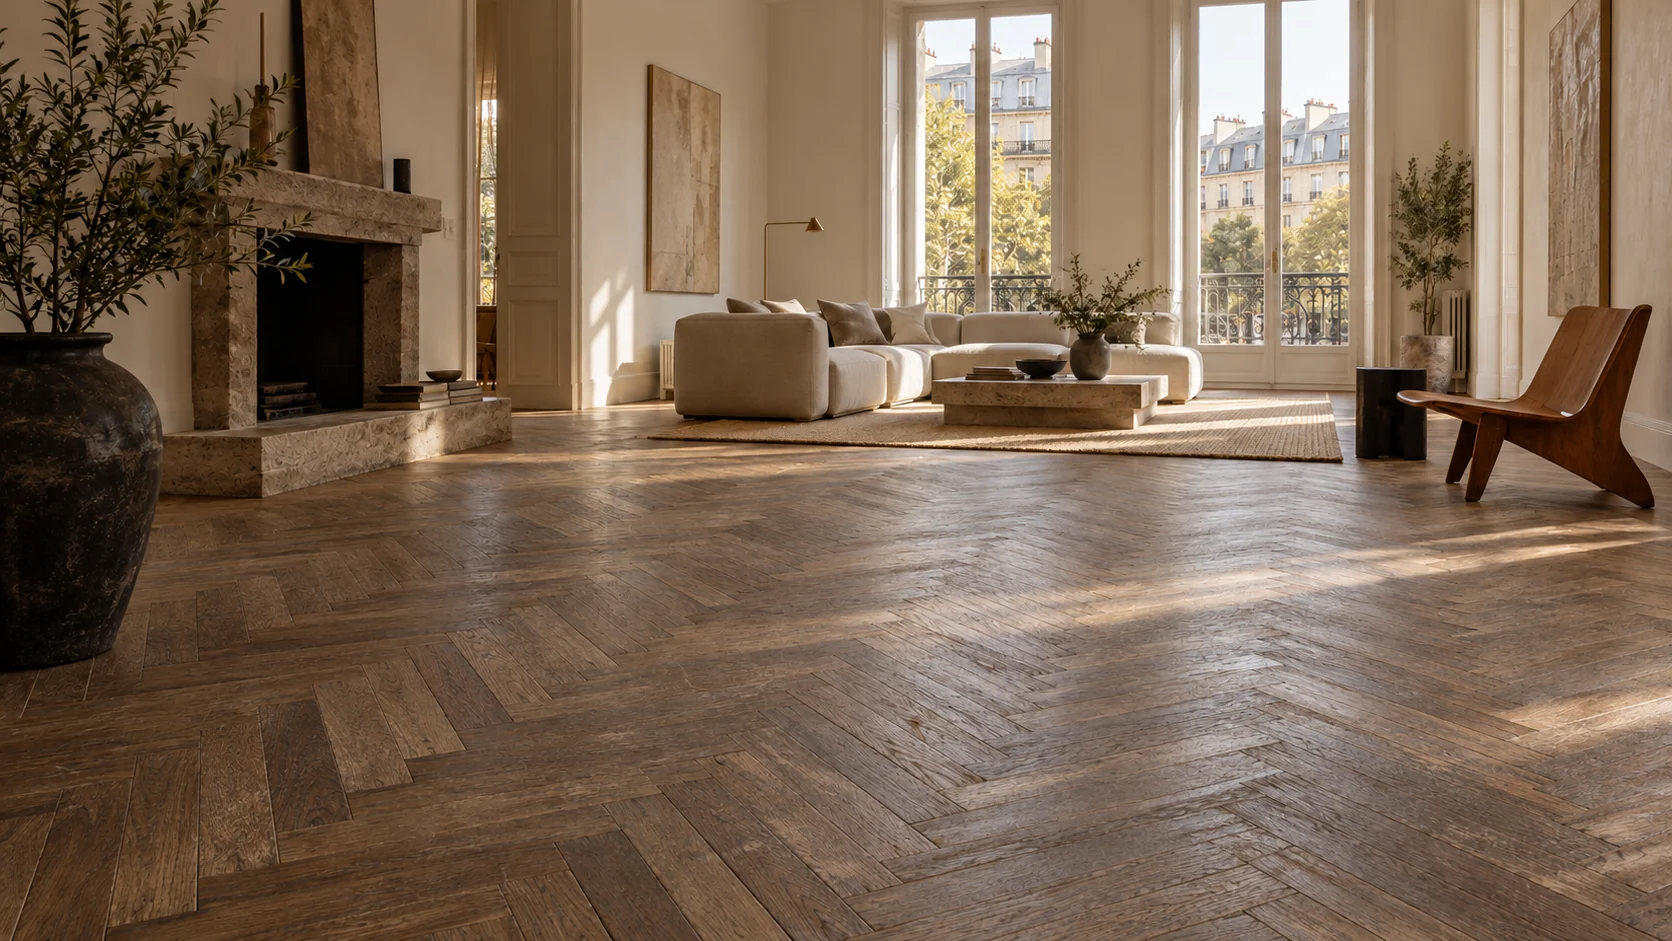
Underfoot,
in context.
Different spaces. Different light. Explore two illustrative approaches to living with timber.
A rhythm for the city.
Herringbone / warm natural finish
A quieter horizon.
Wide boards / pale natural finish